Mastering Mood: How to Use Color Grading in Your Photography
Yoooo, Fellow Future Mood Masters! 📸 Ready to take your pics from meh to mind-blowing? Let’s dive into the world of color grading – your secret weapon for creating vibes that’ll make your followers go wild!
What’s the Deal with Color Grading?
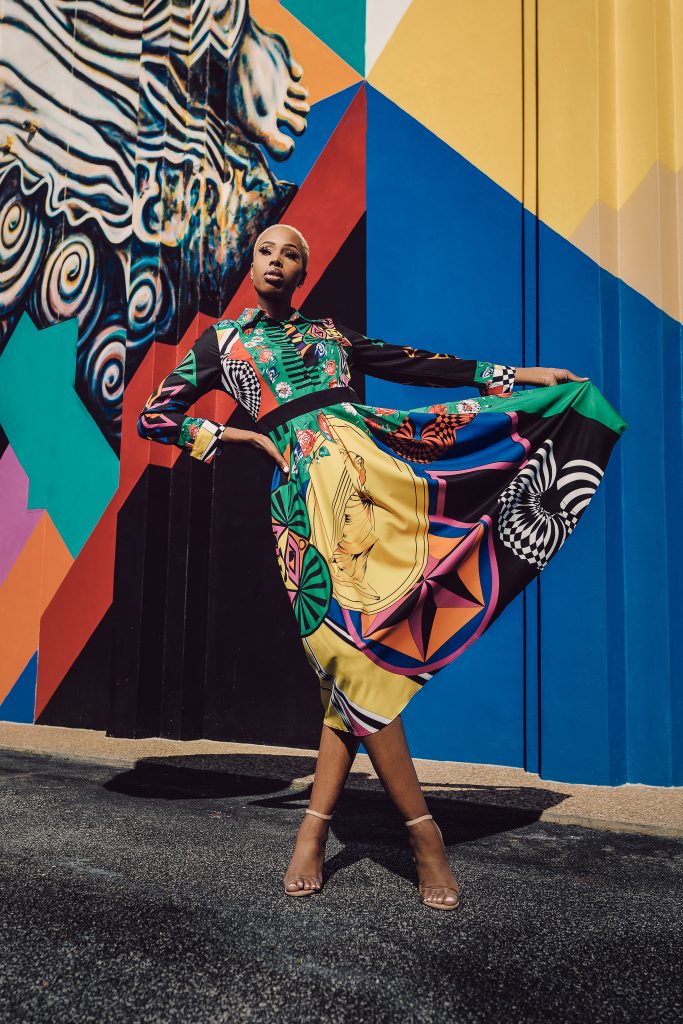
Color grading is like giving your photos a makeover. It’s all about tweaking those hues, saturation, and contrast to set the perfect mood. Think of it as Instagram filters on steroids – but way cooler and totally custom.
But here’s the thing: color grading isn’t just about making your pics look pretty. It’s about storytelling, creating emotion, and developing a style that’s uniquely yours. When you master color grading, you’re not just editing photos – you’re crafting visual experiences that stick with your audience long after they’ve scrolled past.
Why Should You Care?
- Stand out from the crowd: In a sea of #nofilter pics, your color-graded shots will pop like fireworks. We’re talking scroll-stopping, double-tap-inducing images that’ll have your followers begging for more.
- Tell better stories: Colors speak louder than words. Use them to guide your viewer’s emotions. Want to convey warmth and nostalgia? Lean into those golden hues. Going for mysterious and moody? Embrace those deep blues and purples.
- Develop your signature style: Become the Picasso of pixels with a look that’s uniquely you. When people see your pics, they should know it’s yours before they even peep your username.
- Elevate your brand: Whether you’re a pro photographer or a side-hustling influencer, consistent color grading can take your brand to the next level. It’s all about that visual cohesion, baby!
- Unleash your creativity: Color grading is where tech meets art. It’s your chance to play, experiment, and express yourself. Who knows? You might discover a whole new side of your creative self!
Getting Started: Color Grading 101
Know Your Tools
First things first, you’ll need some software. Here are your go-to options:
- Adobe Lightroom (the OG of photo editing): Perfect for both beginners and pros. It’s got all the tools you need and then some.
- Capture One (for when you’re feeling fancy): The choice of many studio pros. It’s got some killer color editing features.
- VSCO (perfect for on-the-go edits): Great for quick edits on your phone. Plus, it’s got some sweet preset filters to get you started.
- Snapseed (the free wonder): Don’t sleep on this Google-owned app. It’s free and packs a serious punch in the editing department.
Master the Basics
Before you go crazy with colors, nail these fundamentals:
- White Balance: Set the mood – warm and cozy or cool and mysterious? White balance is your temperature control for photos.
- Exposure: Brighten up or keep it moody. Your call! Remember, you can selectively adjust exposure for different parts of your image.
- Contrast: Pump up the drama or keep it soft and dreamy. Contrast is key for creating depth in your images.
- Saturation vs. Vibrance: Saturation boosts all colors, while vibrance is more subtle, mainly affecting muted colors. Use them wisely!
Color Grading Techniques to Try
1. Split Toning
Add different colors to your highlights and shadows. Blue shadows with warm highlights? Classic cinematic look, baby! Split toning is your ticket to creating those two-toned masterpieces that’ll have your followers drooling.
Pro tip: Try opposite colors on the color wheel for a striking contrast. Think blue shadows with orange highlights, or teal shadows with red highlights.
2. HSL Adjustments
HSL stands for Hue, Saturation, and Luminance. This is where you can tweak individual colors like a pro. Make those reds pop or tone down overpowering greens. It’s like having a color remote control for your photos.
Fun fact: You can use HSL to completely change the color of objects in your photo. Turn that red car blue or make those green leaves pop with a touch of autumn orange.
3. Curves
The secret sauce of color grading. Play with RGB curves to create mind-bending color combos. Curves might seem intimidating at first, but once you get the hang of them, you’ll wonder how you ever lived without ’em.
Try this: Create an ‘S’ curve on your RGB curve to add contrast, then play with individual color curves to shift the color balance.
4. Color Grading Panels
Many editing softwares now have dedicated color grading panels. These often let you adjust colors for your shadows, midtones, and highlights separately. It’s like split toning on steroids!
Pro Tips for Killer Color Grades
- Stay consistent: Develop a signature look across your photos. Your feed will thank you. Think of your Instagram grid as a canvas – each photo should complement the others.
- Less is more: Don’t go overboard. Subtle tweaks often pack the biggest punch. You want your followers to feel the vibe, not be slapped in the face with obvious edits.
- Experiment: Try wild color combos. You might stumble upon your next favorite look! Don’t be afraid to break the “rules” – sometimes the most iconic styles come from happy accidents.
- Consider your subject: Different subjects call for different color treatments. A moody street scene might call for different grading than a bright, airy portrait.
- Learn from the pros: Follow photographers and colorists you admire. Many share their techniques or even sell preset packs. Just remember – the goal is to inspire your own style, not copy theirs.
Color Grading Inspiration
Need some inspo? Check out these killer color grading styles:
- Teal and Orange: The Hollywood blockbuster look. It’s popular for a reason – it makes skin tones pop against cooler backgrounds.
- Pastel Dreams: Soft, dreamy vibes for days. Perfect for lifestyle and fashion shots that need a gentle, airy feel.
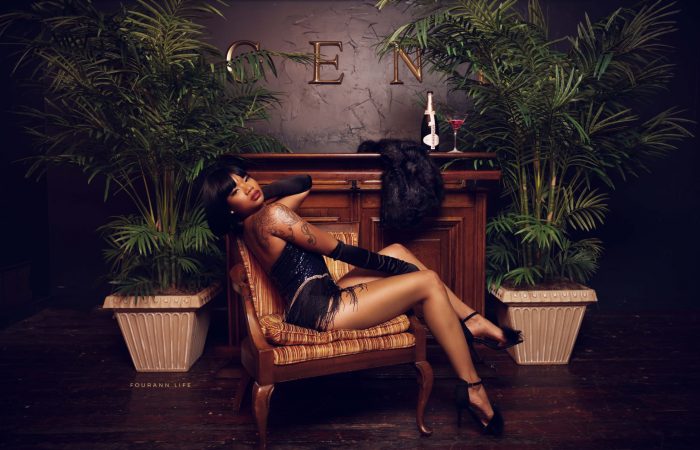
- Moody Blues: Perfect for those brooding urban shots. Think dark shadows and cool-toned highlights for maximum moodiness.
- Vintage Vibes: Take it back to the good ol’ days. Faded blacks, subtle color shifts, and film grain can give your pics that nostalgic feel.
- Neon Nights: Bold, saturated colors for eye-catching night photography. Great for cityscapes and nightlife shots.
Wrap It Up and Take Action!
Color grading is your ticket to photo fame. It’s time to stop scrolling and start creating! Grab your favorite editing tool, pick a photo, and start experimenting. Remember, practice makes perfect, so don’t be afraid to get weird with it.
Here’s a challenge for you: Pick one photo and create three totally different color grades for it. You’ll be amazed at how color can transform the entire mood and story of an image.
Ready to show off your color grading skills? Drop your best edited pics in the comments below. Let’s see those epic transformations! 🌈✨
FAQs About Color Grading
Q: Do I need expensive software to do color grading? A: Not at all! While pro software like Adobe Lightroom offers advanced features, you can start color grading with free apps like Snapseed or VSCO.
Q: How long does it take to master color grading? A: Like any skill, it takes practice. Start with small adjustments and gradually experiment more. You’ll see improvement in no time!
Q: Can I color grade on my smartphone? A: Absolutely! Many mobile apps offer powerful color grading tools. It’s a great way to edit on the go.
Q: Should I always use the same color grade? A: While consistency can help build your style, don’t be afraid to adapt your grading to suit different photos or moods. Variety is the spice of life!
Want to dive deeper into photo editing? Check out our other tutorials on lighting techniques and composition tips. Happy grading, and may the colors be ever in your favor!
Remember, at the end of the day, color grading is about expressing your unique vision. So go forth, experiment, and let your creativity shine through every hue! Who knows? Your next color-graded masterpiece might just break the internet. 🚀🎨


