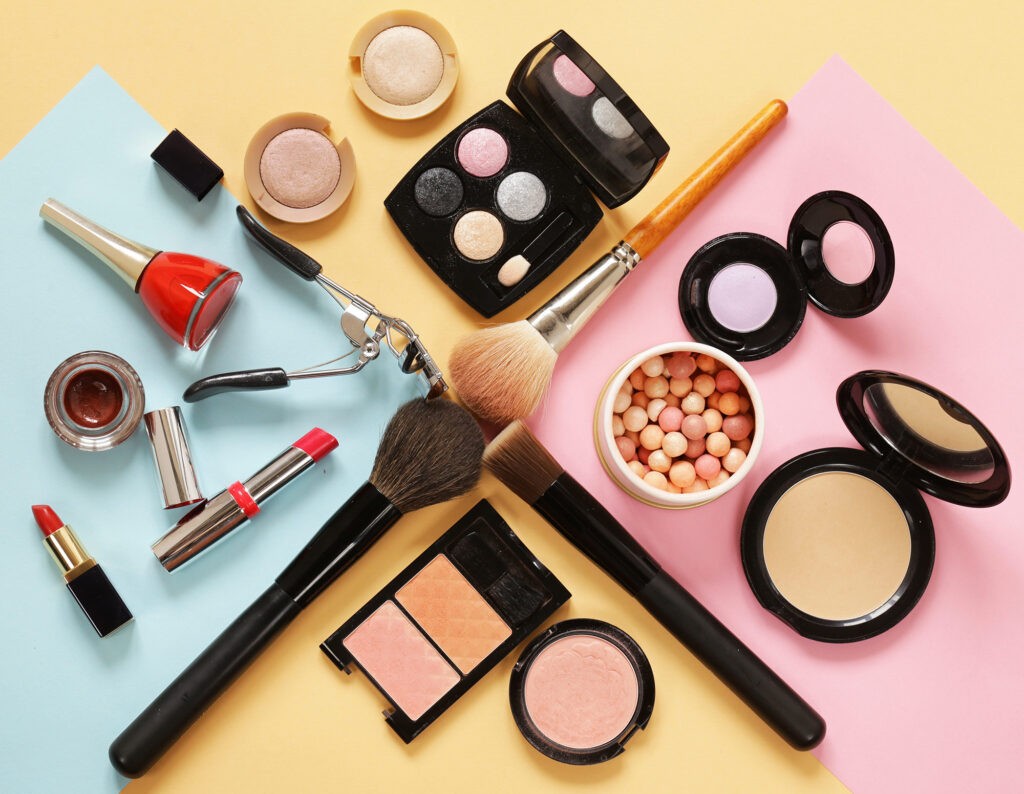
Product Photography is vital when it comes to selling your merchandise on social networks. This is because, in most cases, your potential customers will decide on sight whether they are interested in your product or not. In other words, product photos will determine if the users stay to read or keep scrolling.
However, there is no reason to panic even if you can’t afford a professional photographer. This is because with our tips you will quickly master the basics of DIY in product photos and level up your sales.
Use the RAW format
The first step in Do-It-Yourself for product photography is choosing the right setting for your camera. This may sound complicated but in most cases what you want is RAW format instead of JPEG. This is because, while the pictures may look the same in your camera, they will NOT look the same with a better screen.
The reason for this is that the RAW format takes pictures without compression. In other words, when you use the RAW format you keep every possible pixel of your photography. The downside is that for long sessions you may need a decent memory in your camera.
However, that is a fair price to pay for the huge quality improvement.
Stabilize your camera
If you think that to DIY in product photography you can hold your camera, take the pictures, and be done, then you are wrong. In reality, even professionals take advantage of every tool when it comes to increasing picture quality. They do not shy away from using tripods.
So if you can afford it, by all means, use a tripod to stabilize your camera. This will save you a lot of time and effort and also allow you to repeat shots easily while playing with focus, light, and more.
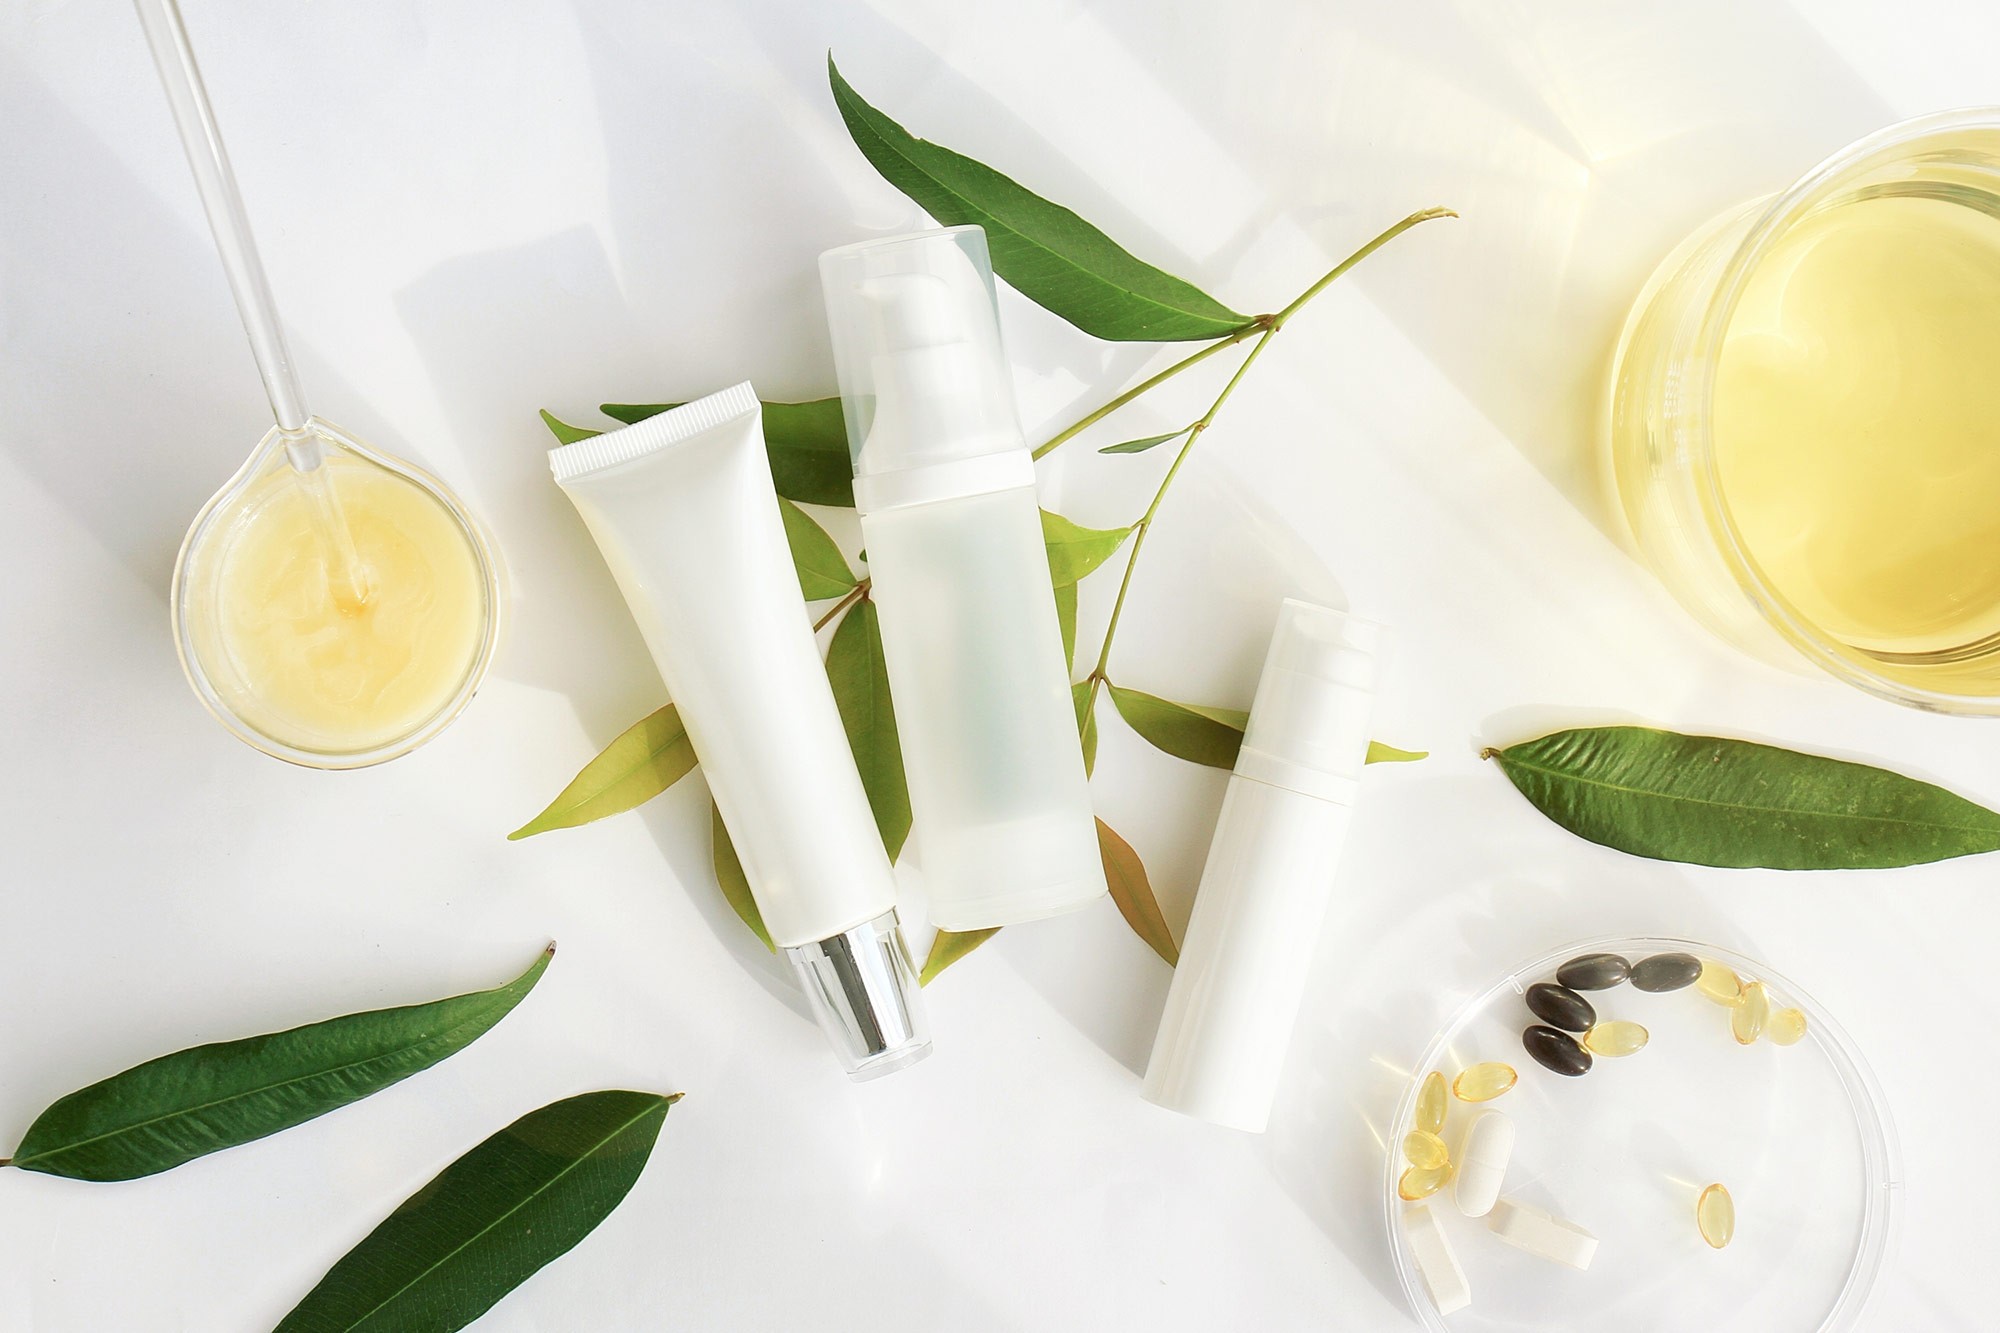
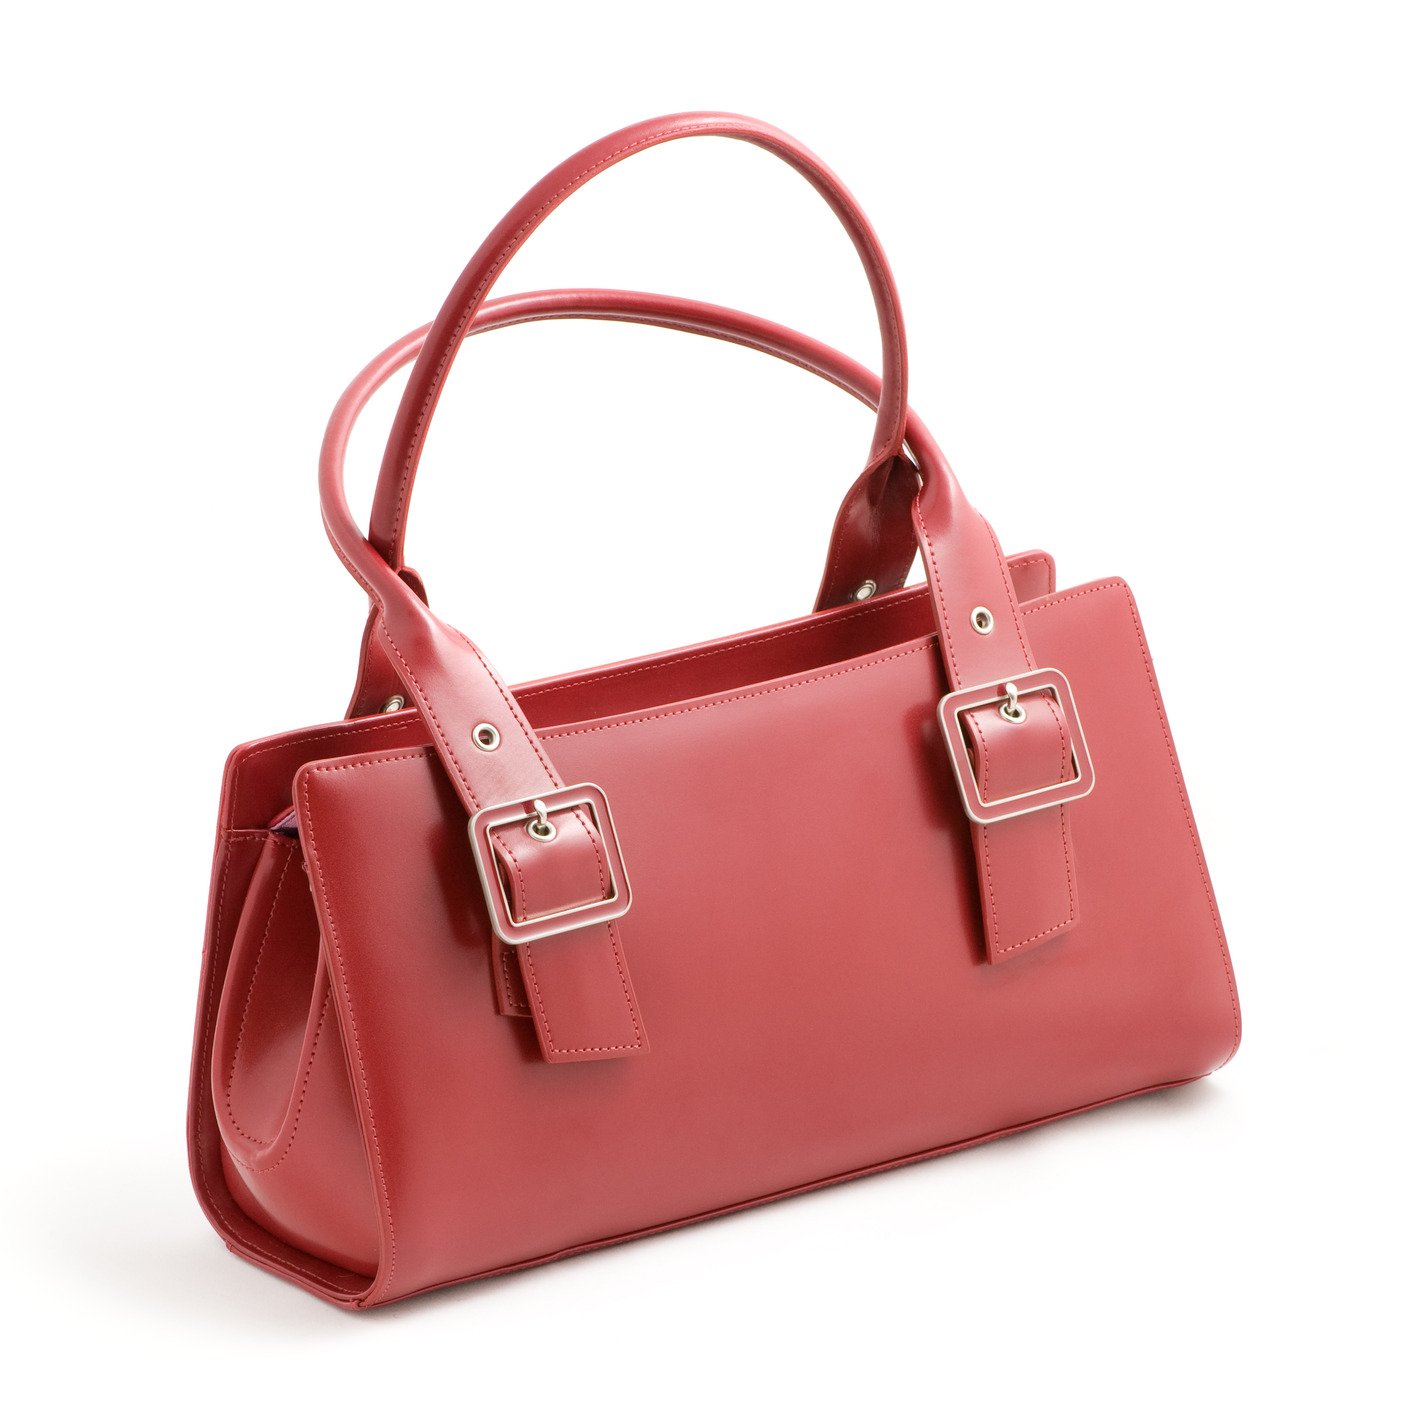
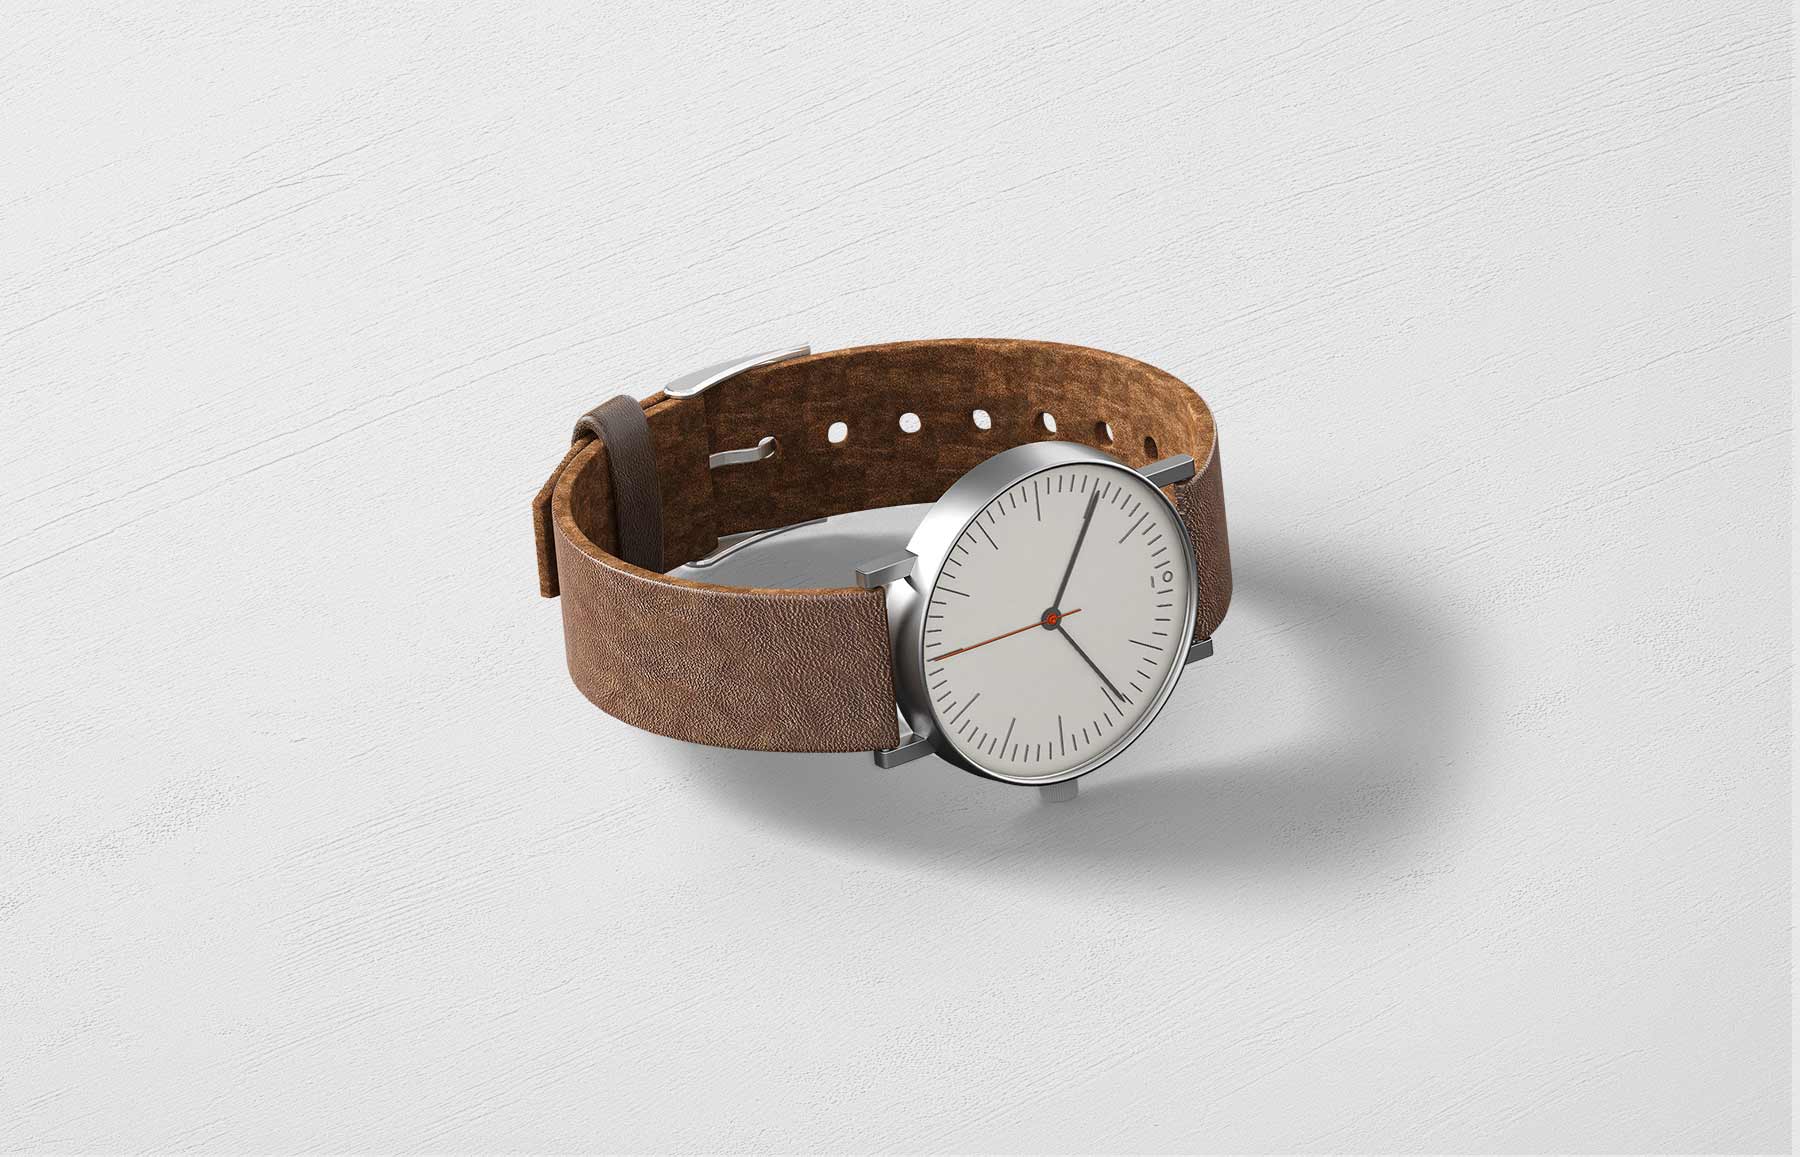
Pick your background
For DIY product photography, one of the things you can do to improve without much work is picking the right background. This is because in most cases you want to showcase a specific product and its strengths. In essence, pick a background that makes your product stand out.
An easy solution is choosing either a white or black background. These two are the go-to when it comes to neutral backgrounds and you can always work it out with one or the other.
With a little more experience in your pocket, you can start playing with decorated backgrounds. But always remember your golden rule for Do-It-Yourself product photography: Make your product stand out.
Mind your light
For DIY photography you will find endless tips and tricks on the internet. However, one of the best, and simpler ways to improve your picture quality is minding your light. Specifically, mind the light sensibility in your camera!
This is because most cameras will let you pick the light sensibility or ISO setting. So check your camera’s manual and set it as low as possible.
In most cameras, this means setting your ISO to 100 with some quick steps. This is easy to do and will get rid of the annoying granulated parts in your photos.
DIY lightbox
The flipside of setting your camera’s ISO at the base or lowest value is that you will have to work on your illumination. However, for Do-It-Yourself product photos, there is a powerful yet simple solution which is crafting a DIY lightbox.
So make a quick search on Google for “DIY lightbox” and you will get plenty of tutorials to craft one with really cheap materials. Spoiler: In most of them, you will get to work with a box, tape, paper, and scissors.
Show off your product
So as you see you can improve the quality of your Do-It-Yourself product photography with these quick, cheap tips to rise your marketing level. This brings us to our last, but not the least important tip of the day: Show Off your Product!
- Pick a Background that will make your product stand out.
- Get your camera stable and with the right settings.
- Light your product up with your Light Box.
- Focus on.
- And get ready to shoot!
These five simple steps will get you started in the path of DIY photography on a great base.